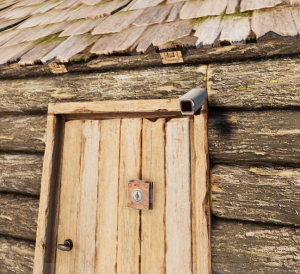
At one point or another, you’ve been sat inside your base hearing foot steps and asking yourself “Is that a horse or a human” Your heart has started to pound, you think this is going to be the end for you. Then ten minutes later, just as you’re on the verge of a heart attack, you realise it was neither a horse or human, just a damn deer.
Here at GameKeeper we care about our players, the last thing we want is someone to have a heart attack at their keyboards. So I present to you, security cameras.


To get started with the security cameras, here are the commands.
/sc ~ Displays the help menu for the security cameras.
/sc add ~ Will let you deploy a security camera somewhere on a building block. You must have a CCTV camera in your hand to do so.
/sc remove ~ Remove the camera that you’re looking at.
/sc name <name> ~ Give your camera a name so you can identify it.
I’ve been kind enough to grant access to these plugins to all VIP levels, so that includes the free vip level. They’ll get 1 camera, then the donator ranks will get 3, 4 and 5 respectivly.
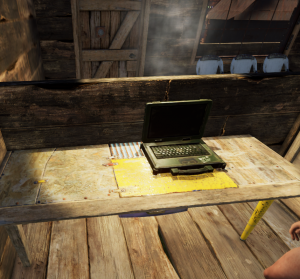
Now to view and control the cameras, you’ll need the RustNet laptop.

/rustnet ~ Brings up the help terminal with instructions on use.
/terminal add ~ Activate the terminal placement tool. You must have a laptop in your hand to do so.
/terminal remove ~ Remove a existing terminal.
You can use the RustNet terminal for the security cameras. But it can also control the bounty system.
You’ll now be able to place a bounty on your enemy for a price, then who ever kills the player with the bounty gets a reward. Cool eh?

In the above example, you can set a RP as the bounty reward on the chosen target. You’re also able to use items as a reward.
Then once you’ve killed the victim, you can claim your reward from the laptop.
Have fun spying on your next bounty victim 😉
-Zilch

Recent Comments