The first thing you need to do is craft some water base foundations. Once you’ve placed your first one in the water, the others get consumed from your inventory as you place roof/floor tiles down using the Building Planner. That’s the basic principle.
Select the Building Planner. Then press enter to release your mouse cursor and click the type of water foundation you want to craft. Repeat pressing enter and clicking the button to craft a foundation until you have 15 or 20. It’s a bit of a pain but once you’ve done it, that’s it.
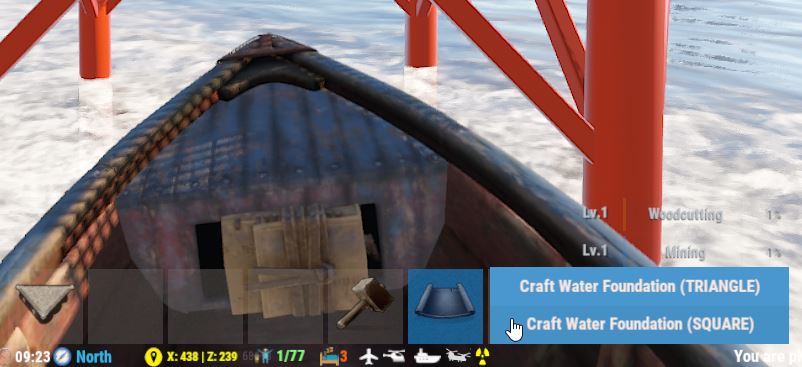
Next up, select the foundations you’ve just created and position the first one in the water. It will appear as a rubber ring. Click to place it when you’re happy, just as you would with a regular foundation.
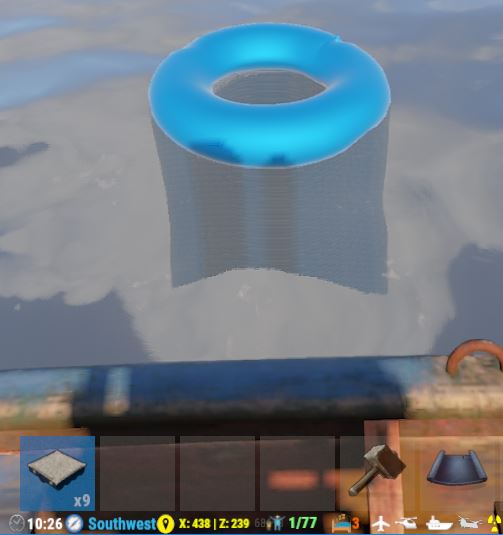
Done:-
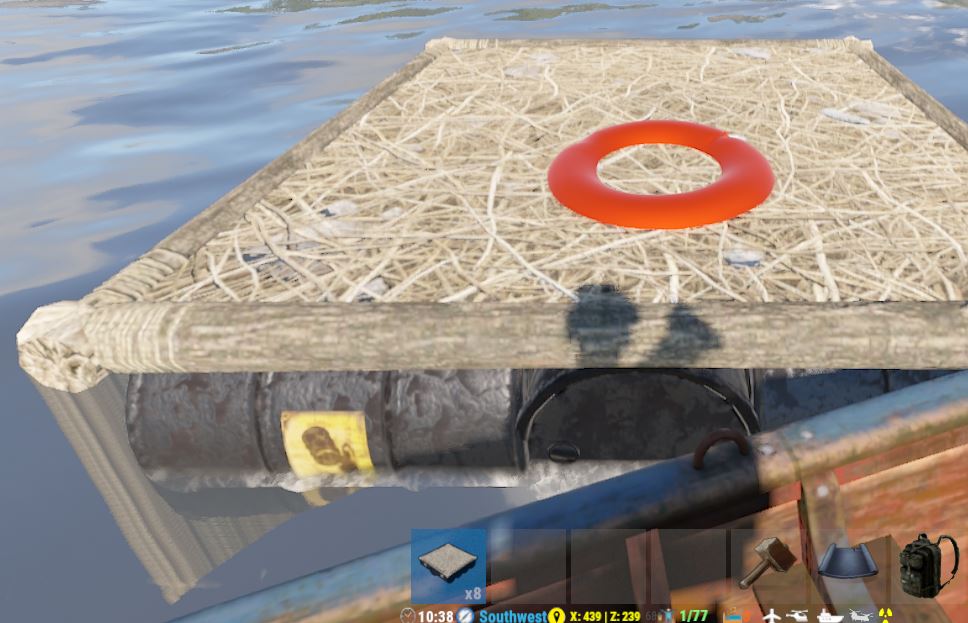
From now on, select the Building Planner, right click and select the floor tile.
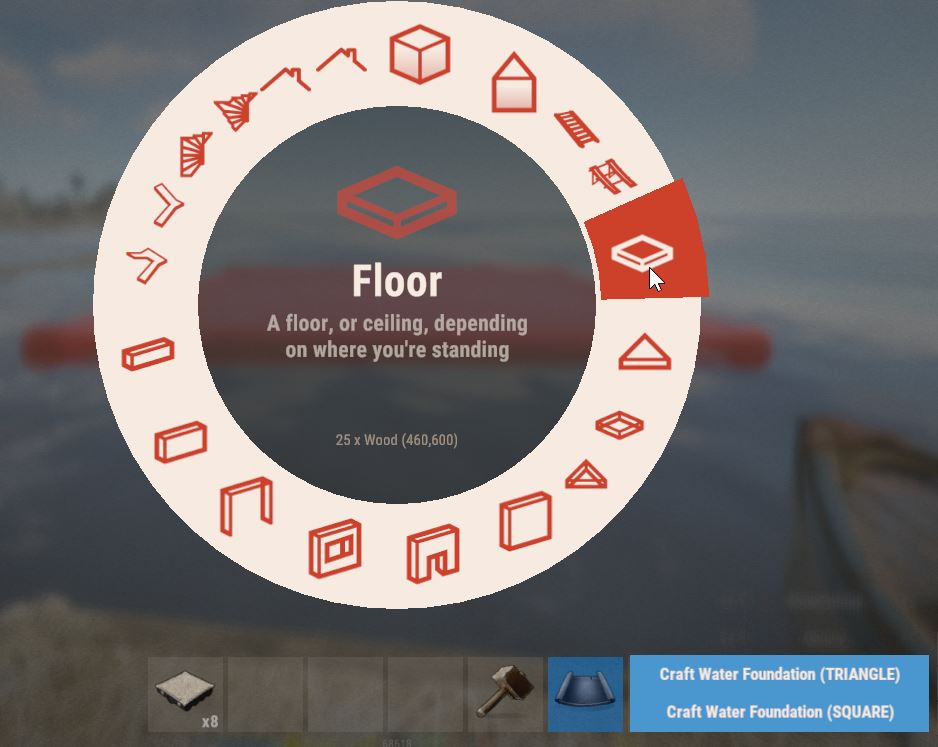
All of the rest of your water foundations will be placed using the floor tile. As you place each new water foundation, the ones you made will get consumed out of your inventory. When you run out, make some more. There is a limit as to how many you can use to prevent massive lag monster water bases, so think small, 5×5 for your water base foundations. Once in the water you can build up as normal.
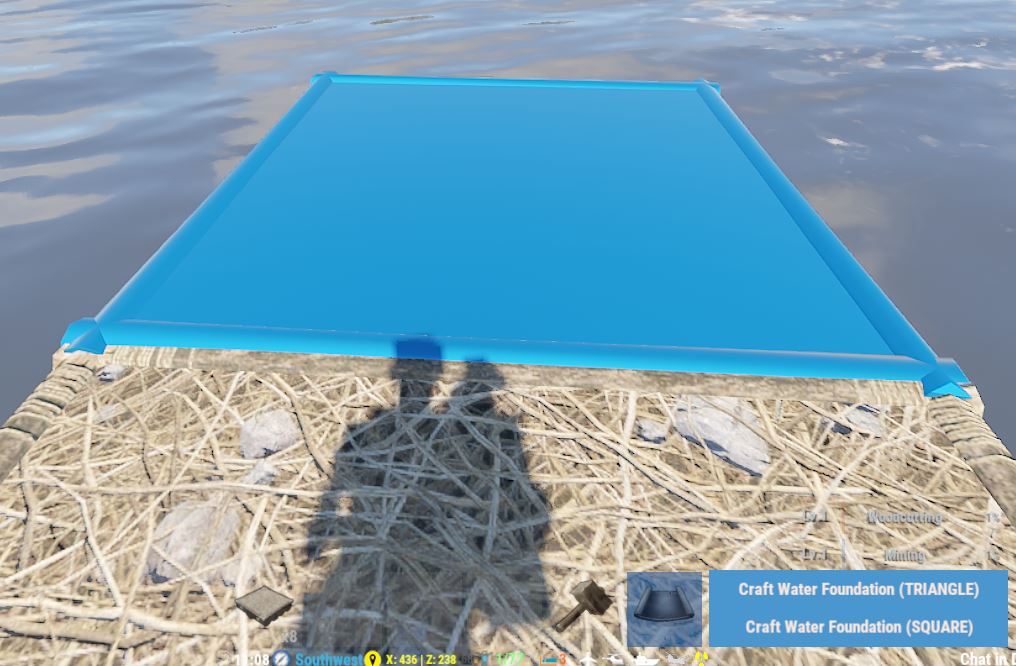
Place some more.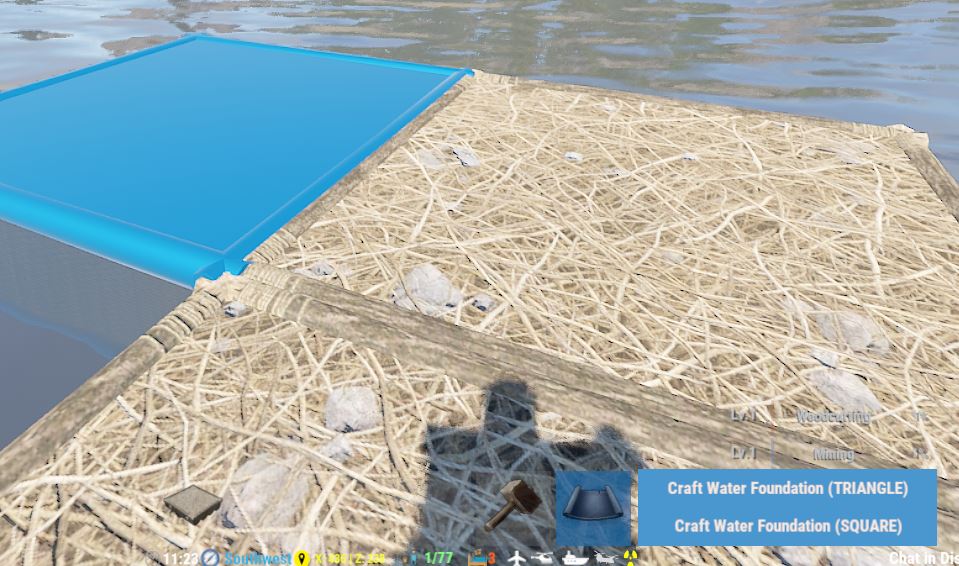
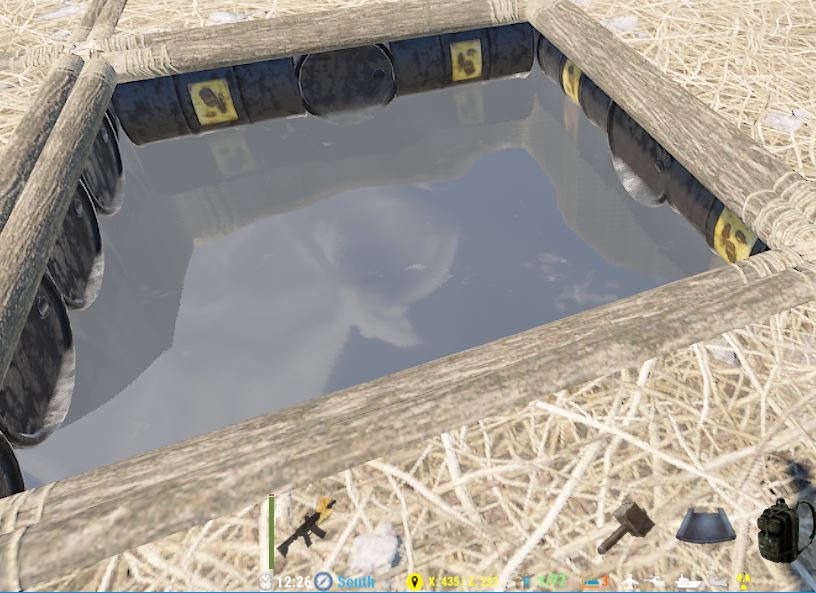
Here you can see the floor foundation is floating on some oil barrels. Nice.
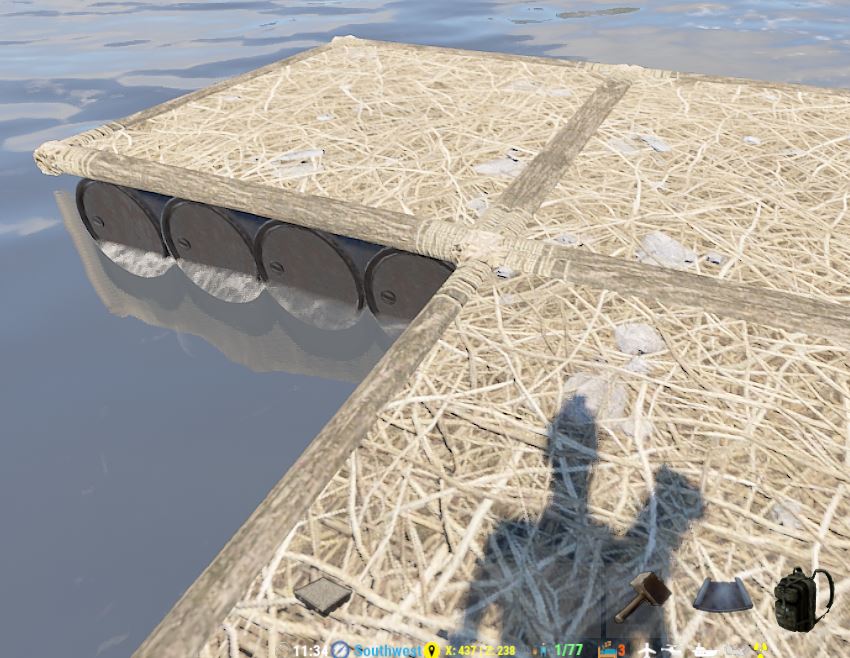
Once you’ve put a few down, you can place a floor frame ready to take a ladder hatch.
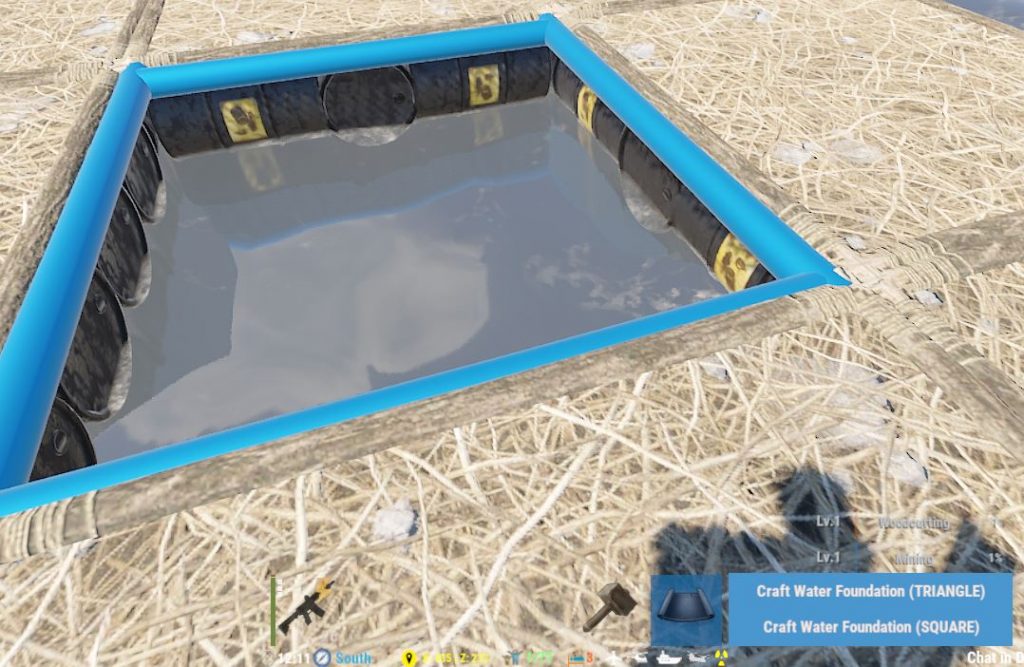
Placed it:-
Now add your ladder hatch.

And you’re done.

You can then approach your water base from below if you wish to. There is a coming upgrade for this where you can park your sub in your base. I can’t wait. 😉
That’s all there is to it, getting past the fiddly bits at the beginning where you’re wondering how the damn thing works. After that it’s just like building a base on land.
And that concludes your basic tutorial on building a water base. I want to see some really cool looking bases appear.
-PPlank

Recent Comments